
 Written by
 Some league starters look great on paper but feel awkward the moment you leave town. This Arc Totem setup takes a more practical route. You begin with Grenades, clear the campaign at a steady pace, and keep your early gear cheap while saving POE 2 Currency for the pieces that actually matter later. The build does not ask you to force its final skill from the first zone. That is the point. Grenades handle packs well, they remain useful against tough targets, and they let you reach maps without turning every upgrade into a major shopping trip.
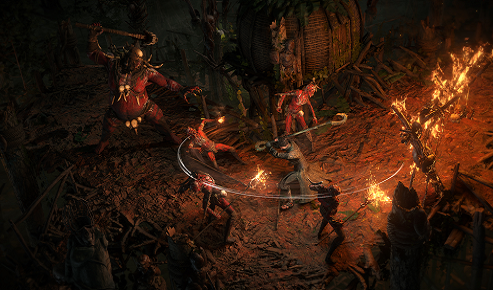
Use Grenades Until the Build Is Ready
Cluster Grenades start to feel worthwhile at about level 14. Once the skill is online, you can throw into a pack, keep moving, and let the overlapping explosions do most of the work. It is quick in tight hallways and still comfortable in wider areas. You will notice the difference during the campaign, where stopping for every small group wastes more time than people expect.
Mirage Archer adds another source of pressure while you reposition. It is especially handy when a rare enemy or campaign boss refuses to fall quickly. You do not need a complicated rotation. Place your supporting skill, throw Grenades, move out of danger, then repeat. Keep your weapon reasonably current, but do not spend heavily on temporary equipment. A sensible campaign route can cover the story, useful side quests, the Act 4 Grand Expedition, and two early Ascendancy unlocks in around seven hours, depending on experience and movement speed.
The Right Moment to Equip Arc Totems
Arc Totems become the better long-term choice once the character has enough support behind them. Level 75 is a sensible target, particularly after earning three Ascendancy points and collecting the passive nodes that support spell power, mana, and Energy Shield. Before that point, the setup can feel starved. You may lack Spirit, your mana pool may be uncomfortable, and the defensive side of the character can feel unfinished. Grenades usually get through that stage with less effort, so there is no prize for changing early.
When you do make the swap, check the whole character rather than changing one skill gem and hoping for the best. Make sure your Spirit total is close to 225, confirm that your resistances are in good shape, and leave room for the mana cost of your active skills. Arc Totems give you distance in fights, which is a real advantage, but they still need time and space to work. Against bosses, place them before the dangerous phase begins and keep moving while they build pressure. That small habit makes the build feel much safer.
Spend on the Parts That Change the Build
The early version can work with about 10 Exalted Orbs, although prices will shift from one league to another. Start with the wand. A strong option has +4 to spell skills, cast speed, and useful spell damage. You do not need every perfect modifier on day one, but the wand should be a clear improvement over your campaign weapon. Spirit deserves similar attention. A high-Spirit Scepter is often more useful than a flashy damage upgrade because it helps the entire setup function. Aim for roughly 165 Spirit on an early Scepter and work towards the wider target as your gear improves.
An amulet with +2 spell skills is excellent, though it can cost far too much during the first rush of a new economy. A +1 amulet is perfectly serviceable while you repair weaker slots. Rings should cover cast speed, mana, and missing resistances. Your helmet and body armour should contribute Energy Shield and useful protection, while boots need movement speed as well as resistance. Keep an eye on dropped armour during early maps. Pieces with 50 or more Spirit can solve a temporary problem and save you from buying an upgrade in a hurry.
Make the Passive Tree Work Harder
The Split Personality Templar jewel gives this setup an interesting way to tidy the passive tree. Early on, you may need to spend points along ordinary connecting routes just to reach important clusters. That is fine as a temporary measure. After the jewel is equipped, review those routes carefully. Some of the old travel nodes may no longer be needed, allowing you to reclaim points and move them into Energy Shield, mana, or spell-related areas with better returns.
This respec is easy to overlook because the character still functions without it. Still, the saved points add up. They can provide more room for defences, improve resource comfort, or help you reach a valuable cluster sooner. Do not strip the old path before the jewel is ready, though. Losing access to key nodes halfway through the transition can make the character feel much weaker for no good reason. Make the change in one pass when the replacement route is available.
Final Thoughts
This starter works because each stage has a clear job. Grenades carry the campaign, while Arc Totems take over when your level, Spirit, mana, and defensive layers are ready. Prioritise resistance, keep a healthy Energy Shield total, and resist the urge to buy the most eye-catching amulet on the market. A better Scepter or a missing defensive upgrade may help more. If you are short on time, comparing affordable POE 2 Currency for sale options can speed up that final gearing step, leaving you free to focus on maps, bosses, and the passive tree rather than chasing every small upgrade.